This article will help you with disassembling the Monoprice Mini V2 Extruder assembly in case there is need to remove a clog, replace the nozzle or internal PTFE Tube. Please contact Monoprice Technical Support before moving forward with the process.
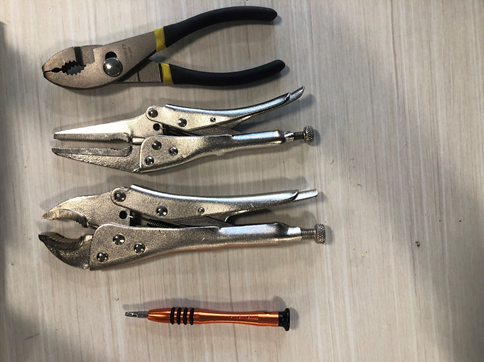
- Gather these tools, or there equivalent, as they will be necessary for proper disassembly.
- Push the extruder assembly all the way to the right for more space to work with.
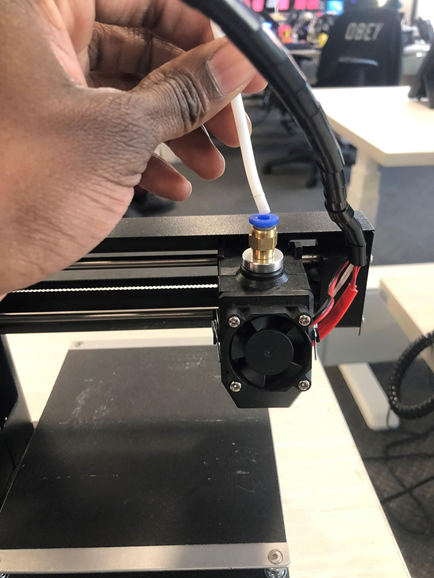
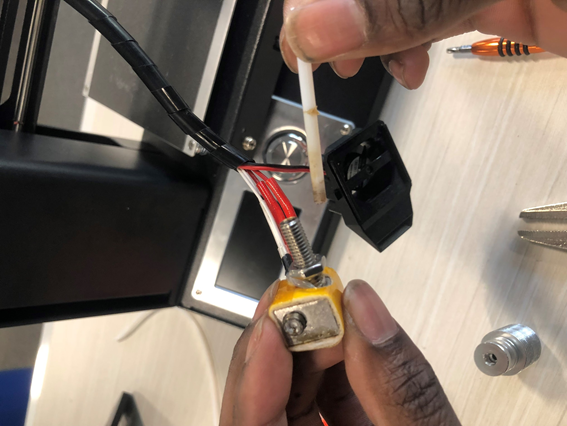
- Depress the blue tab and pull up on the PTFE tube to remove it.
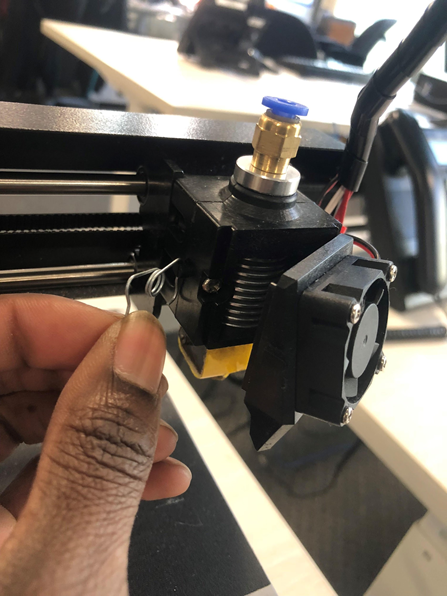
- Release the springs on either side of the assembly and set them aside.
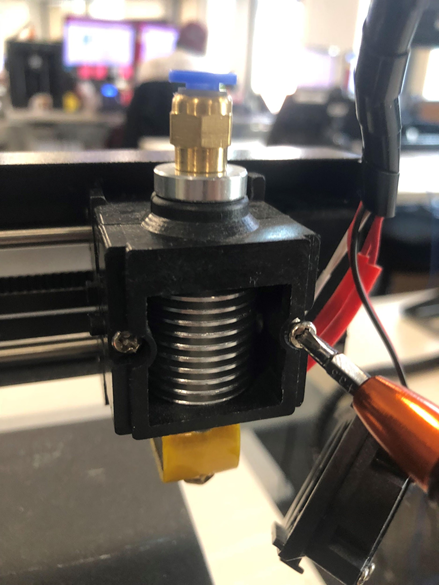
- Now, with the fan out of the way use the screwdriver to remove the two screws for the Heat sink Mount. See next Image.
- Now remove the mount bracket and set it aside.
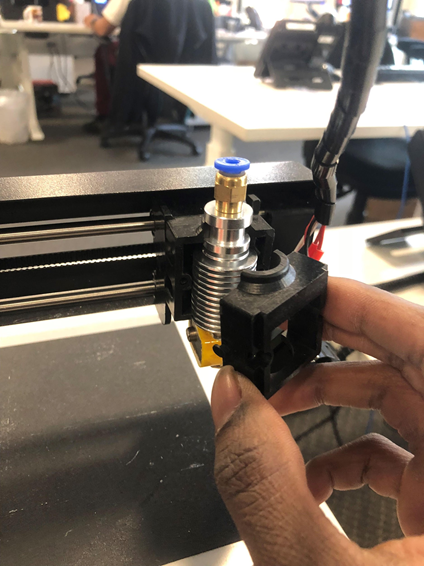
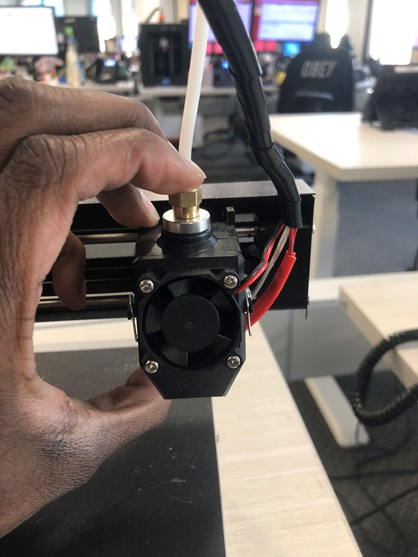
- Your assembly should now look like this. Pull out the full heat sink, heat block and nozzle build.
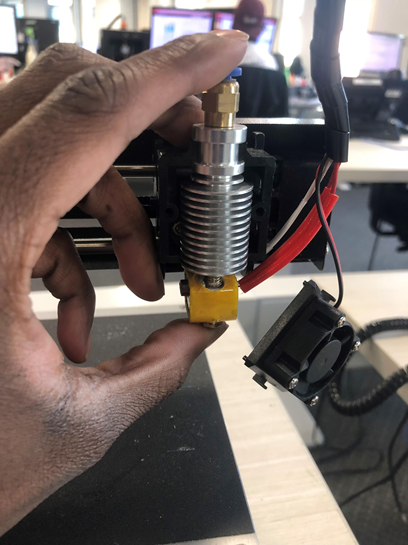
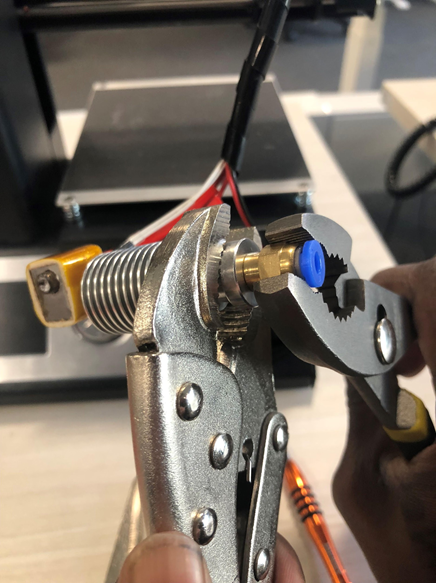
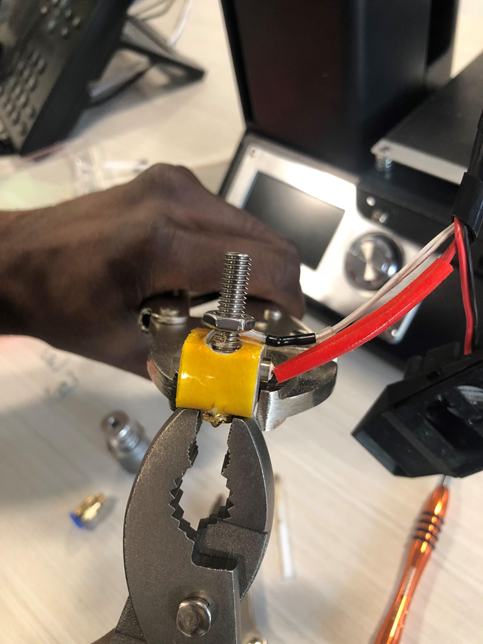
- Using your wrench or pliers, hold the silver heat sink in place. Then using your second wrench or pliers grasp the brass bowden connector and turn it clockwise.
- Now that the bowden connector has been removed use a pair pliers to hold the heat sink in place.
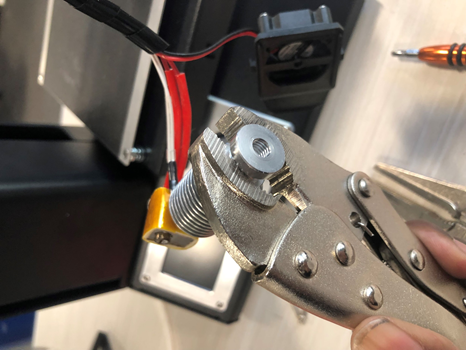
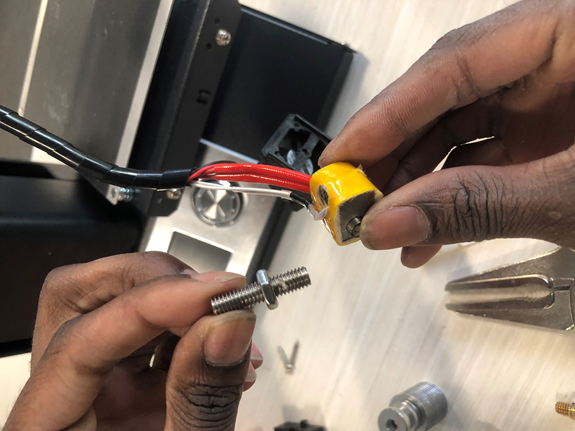
- Then use needle nose pliers to turn the nut holding the heat block and nozzle in place.

- Once the nut is loose continue to turn it until the heat block comes loose. Be mindful of the cables leading to the heat block.
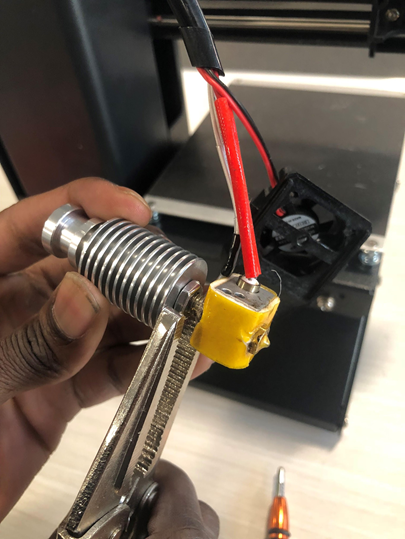
- Remove the heatsink and set it aside.
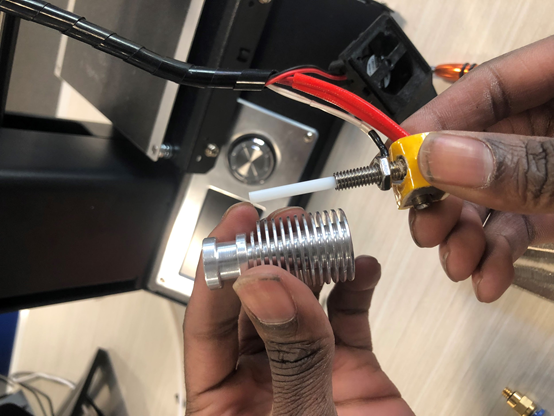
- Remove the PTFE tube liner. If it is stuck use a pair of pliers to remove it.
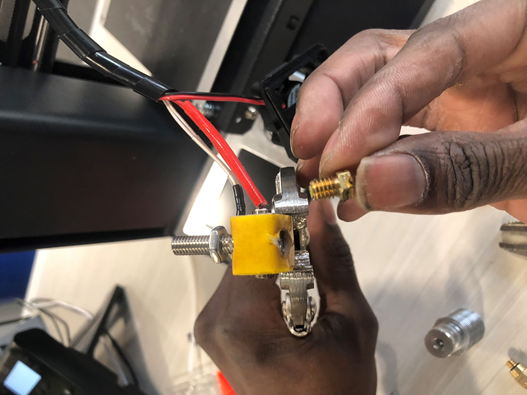
- Use a pair of pliers to hold the heat block in place, then use a wrench or pliers to turn the brass nozzle. See next image
- Once the nozzle has been removed you can unscrew the filament throat. Congratulations! You have successfully disassembled your E3D Hot End Assembly.