This guide will assist with disassembling the extruder on the Monoprice Maker Ultimate in order to gain access to the filament opening for unclogging.
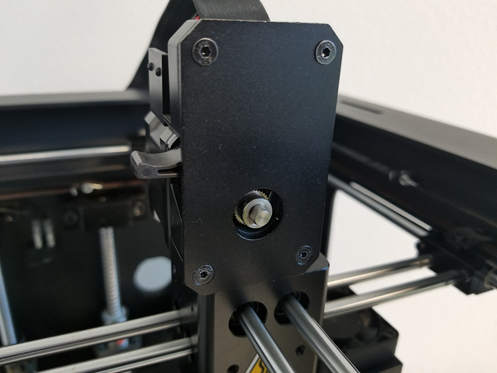
- Remove the 4 hex screws pictured here. Leave the bottom two screws until the next step.
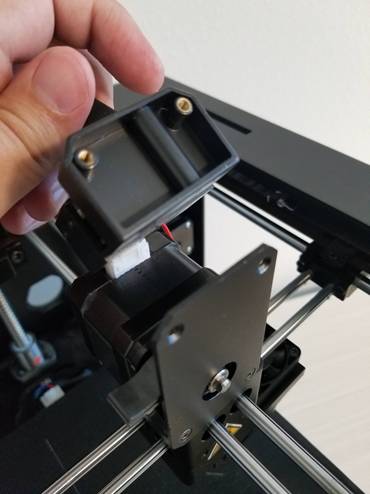
- Carefully move the control board harness out of the way.
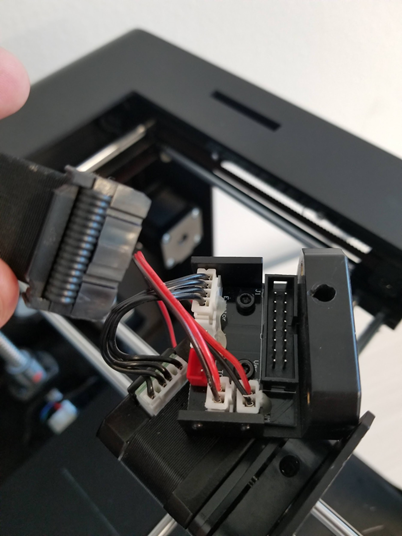
- Unplug the ribbon cable from the pin connector, pulling from the cable's base. Also, remove the white pin connector on the motor. Now remove the bottom two screws from the first image.
- With the control assembly moved out of the way and all four screws removed the assembly should look like this. The Extruder should be loose, it should no longer be mounted to anything.

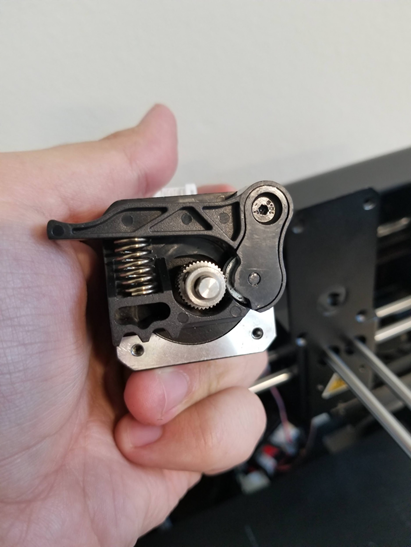
- With all of the cables disconnected you should now have access to the motor to clear any dust or debris found in the gear wheels and pulleys.
- With the motor removed you will also be able to gain access to the filament entryway, from here you should be able to plug in the ribbon cable to the control board and preheat the heated element. This will make it easier to check for clogs and/or clear them.
