This Guide will walk you through the step of disassembling the Extruder Hot End for the MP-10 and the MP-10 Mini 3D printers.
- Press and Hold down the Blue tab and pull the PTFE tube out of the brass bowden connector
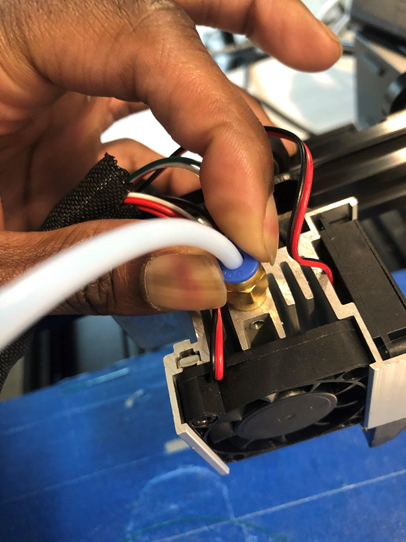
- The white tube will release from connector, move this to the side for now.
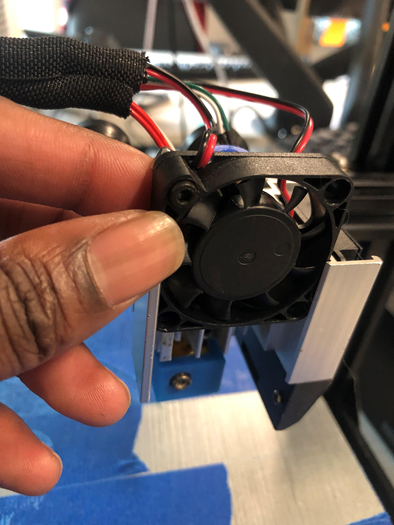
- Loosen the set screw that is holding the fan in place.
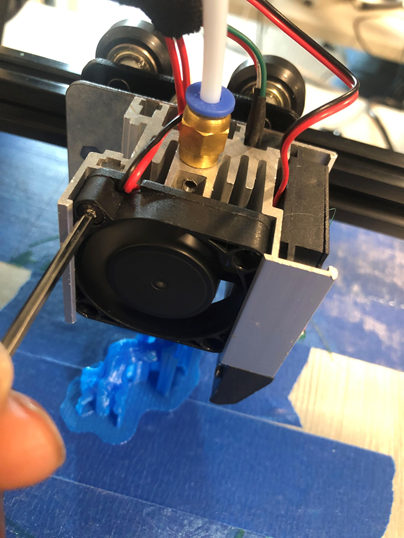
- Lift up and slide the fan out of the metal extruder housing.
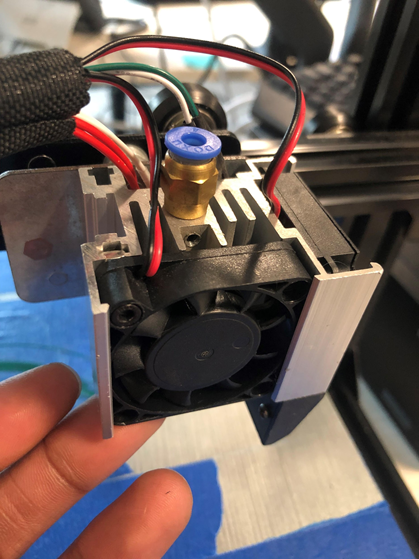
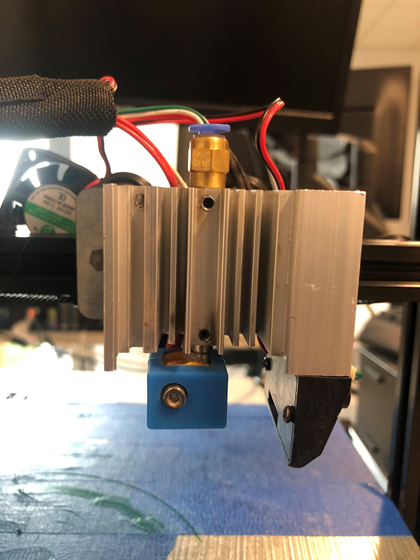
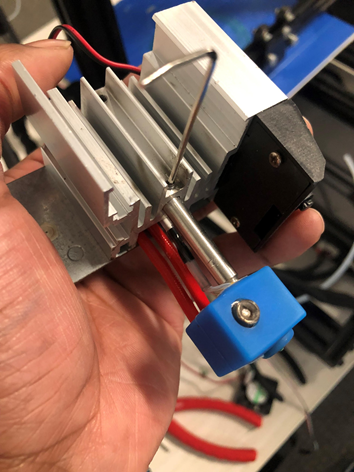
- You will now be faced with the bare heat sink assembly.
- Loosen the set screw holding the brass bowden coupling in place.
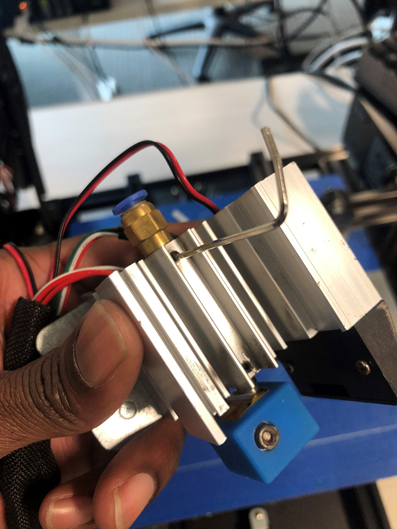
- The brass bowden coupling can now be removed easily.

- Loosen the set screw holding the heat throat in place.
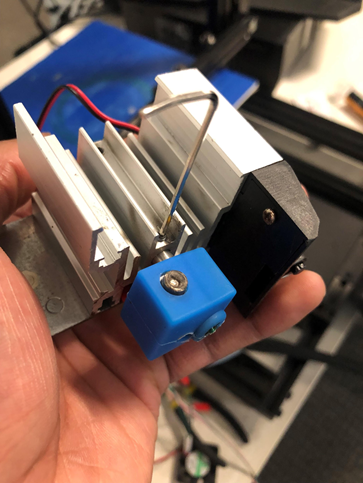
- The throat and heat block assembly will now be able to slide out of the heat sink.
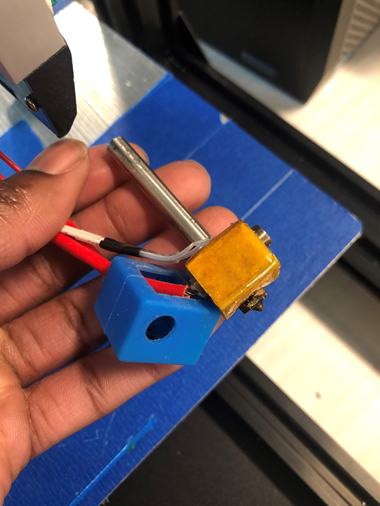
- You will now have access to the throat and nozzle for easy unclogging.
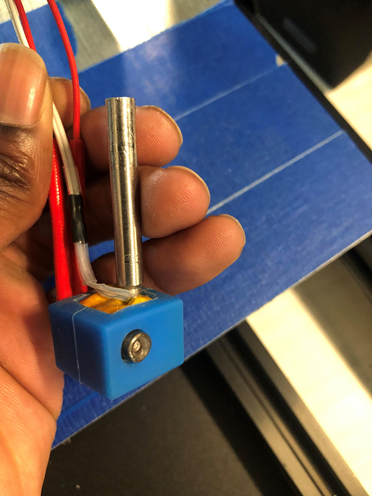
- Remove the silicon housing from around the heating block. The throat can now be un-threaded and the nozzle removed.