The MK1 3D Printer offset correction for the z-axis is not absolute, it is relative. This means if the z-axis offset is currently set to -0.40 and you go to the leveling menu and make adjustments, that -0.40 is now considered 0 to the printer. The steps below will help get a true zero.
- Go to the Auto Leveling menu, where it will ask you to use a piece of paper to make sure the nozzle offset is correct, but before making changes to the offset, in the back of the printer you will want to manually raise both sides of the z-axis up to about 2 inches above the build plate. (This does not need to be exact).
- Go to the LCD screen and bring the z-axis offset to 0.0 using the touch screen.
- Manually lower the z-axis back down similar to how you raised it before. You will stop once the inductive sensor indicates metal is detected (red light will come on).
- You will use the LCD screen to do the paper adjustment and bring it down until the correct pressure is set.
- This will bring the offset to a true value based off the sensors indication of where 0 is. Now proceed to do the auto leveling as normal and you should be ready to print.
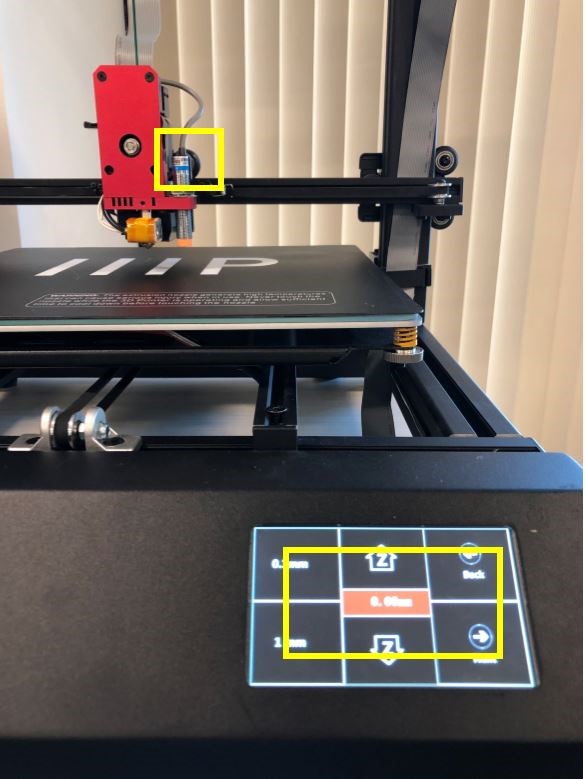
No Red Light indicates the sensor is not active.
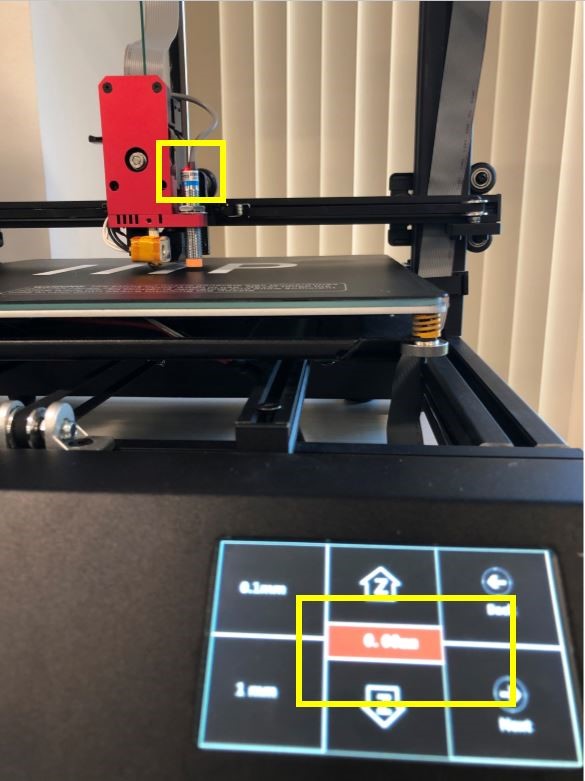
Red light on indicates the sensor is active.